
Last updated November 17, 2026
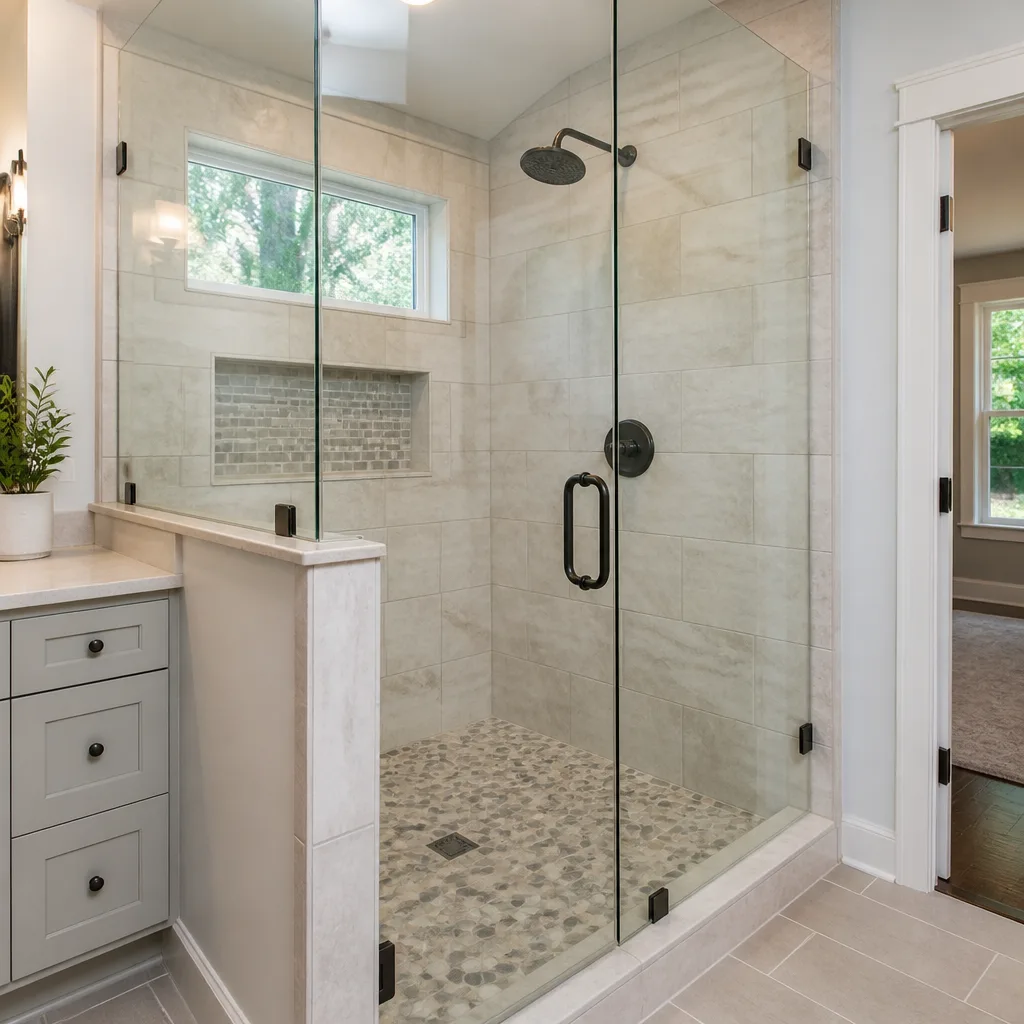 Walk-in shower
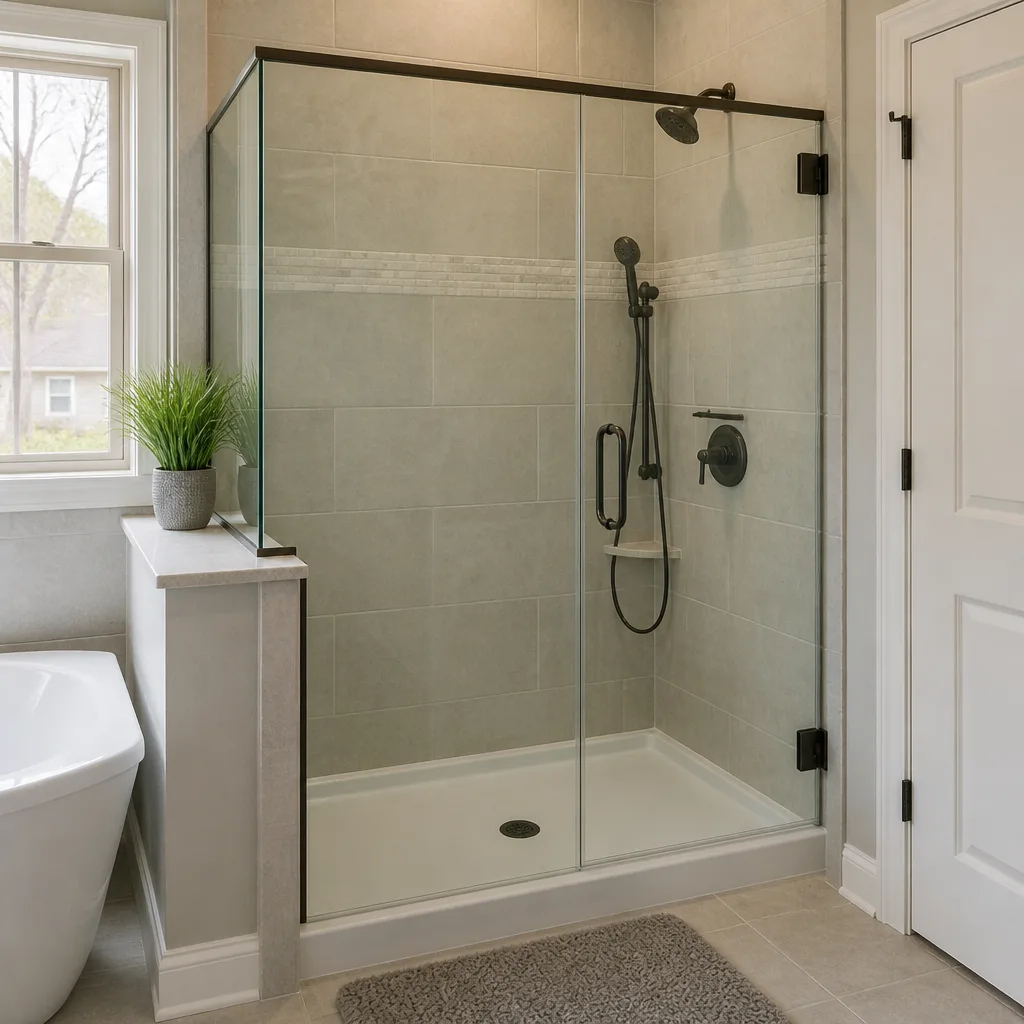 Tub-to-shower
 Freestanding tub
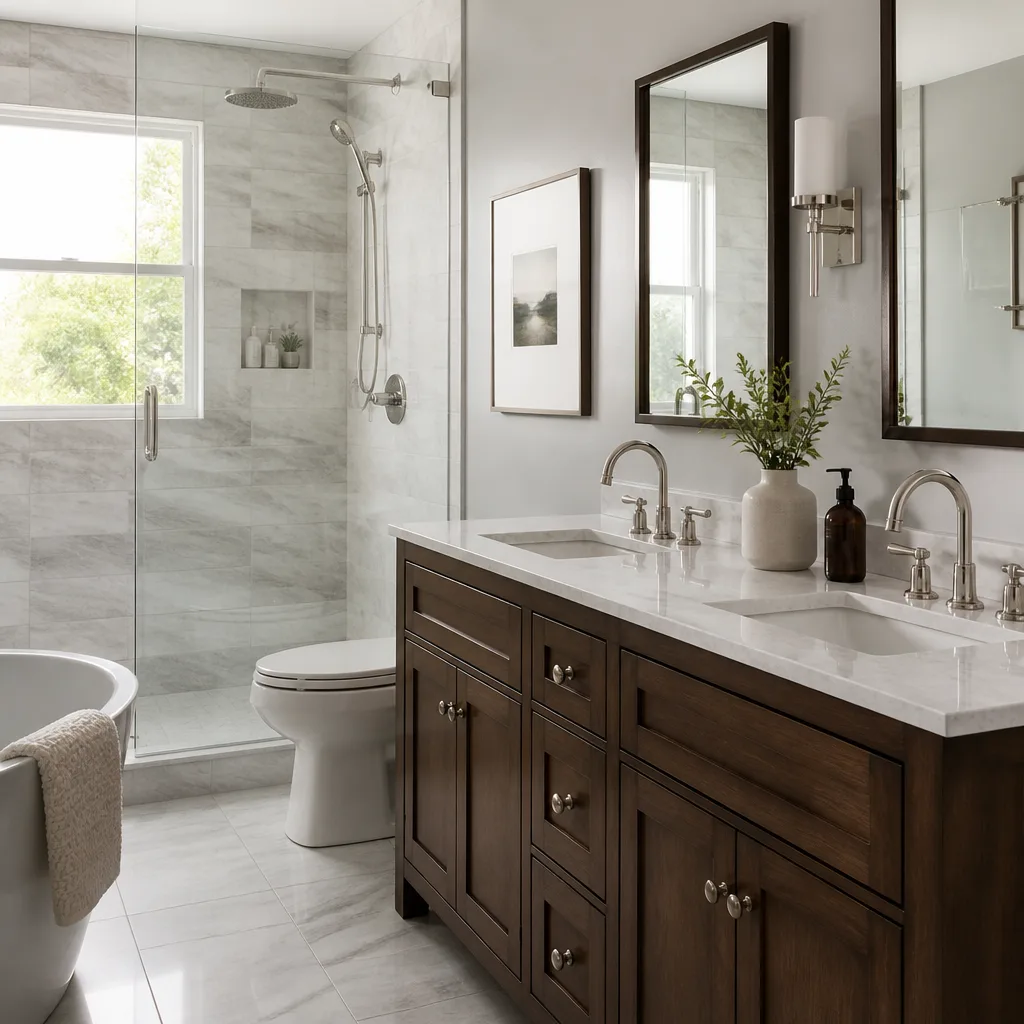 Kohler
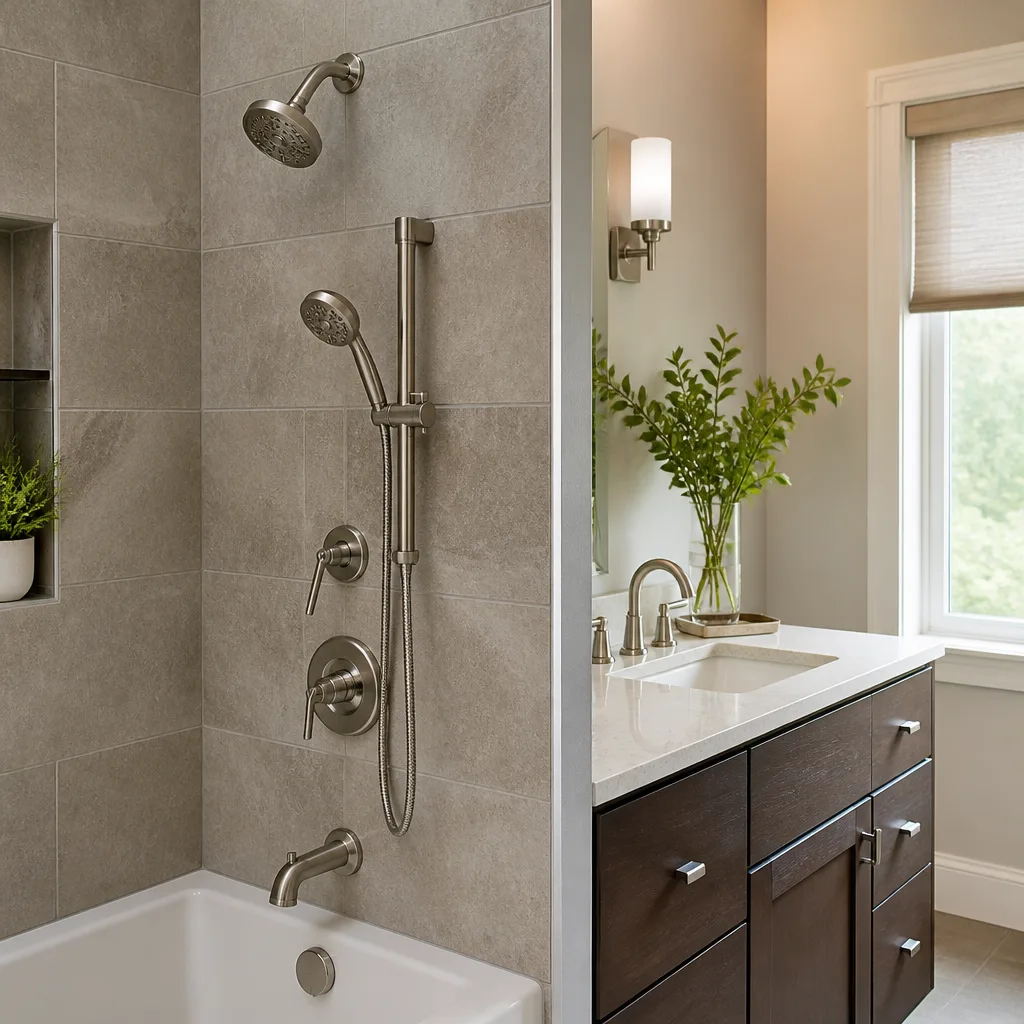 Moen
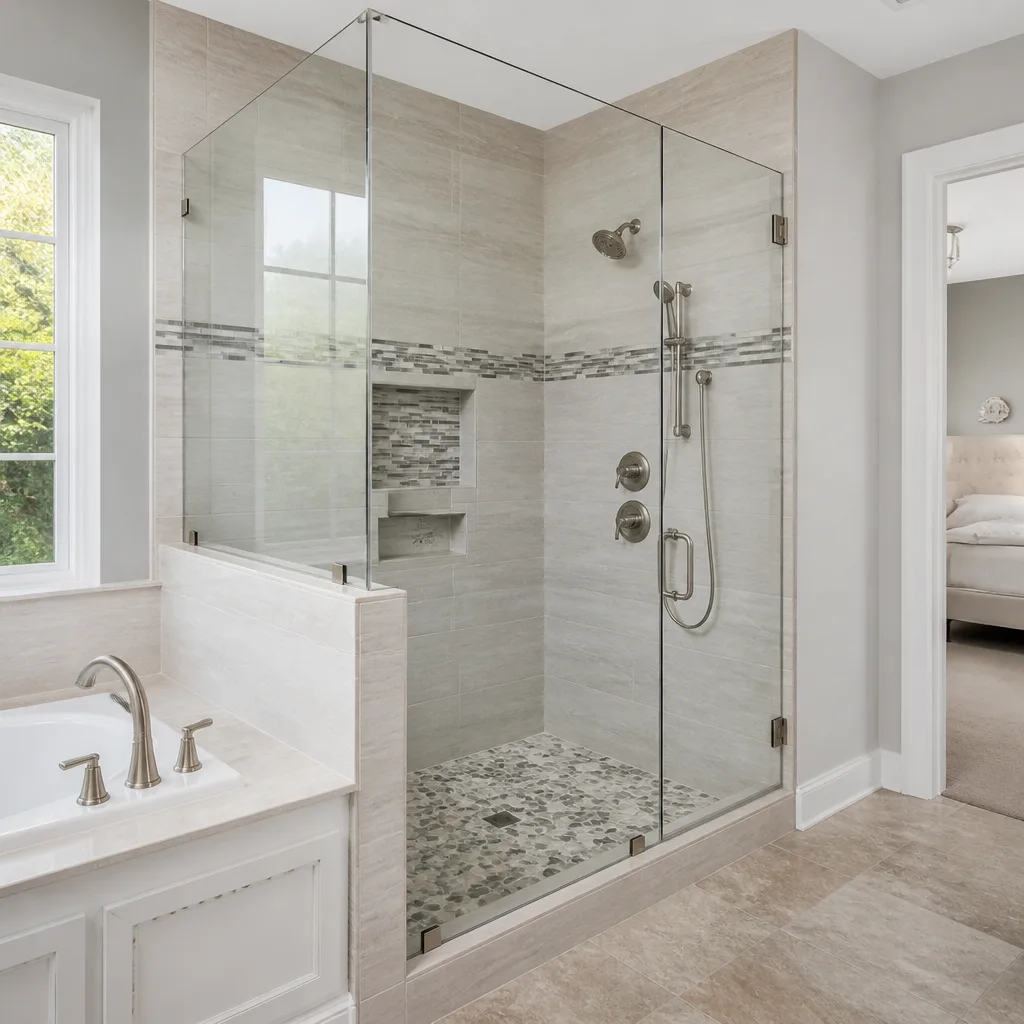 Delta
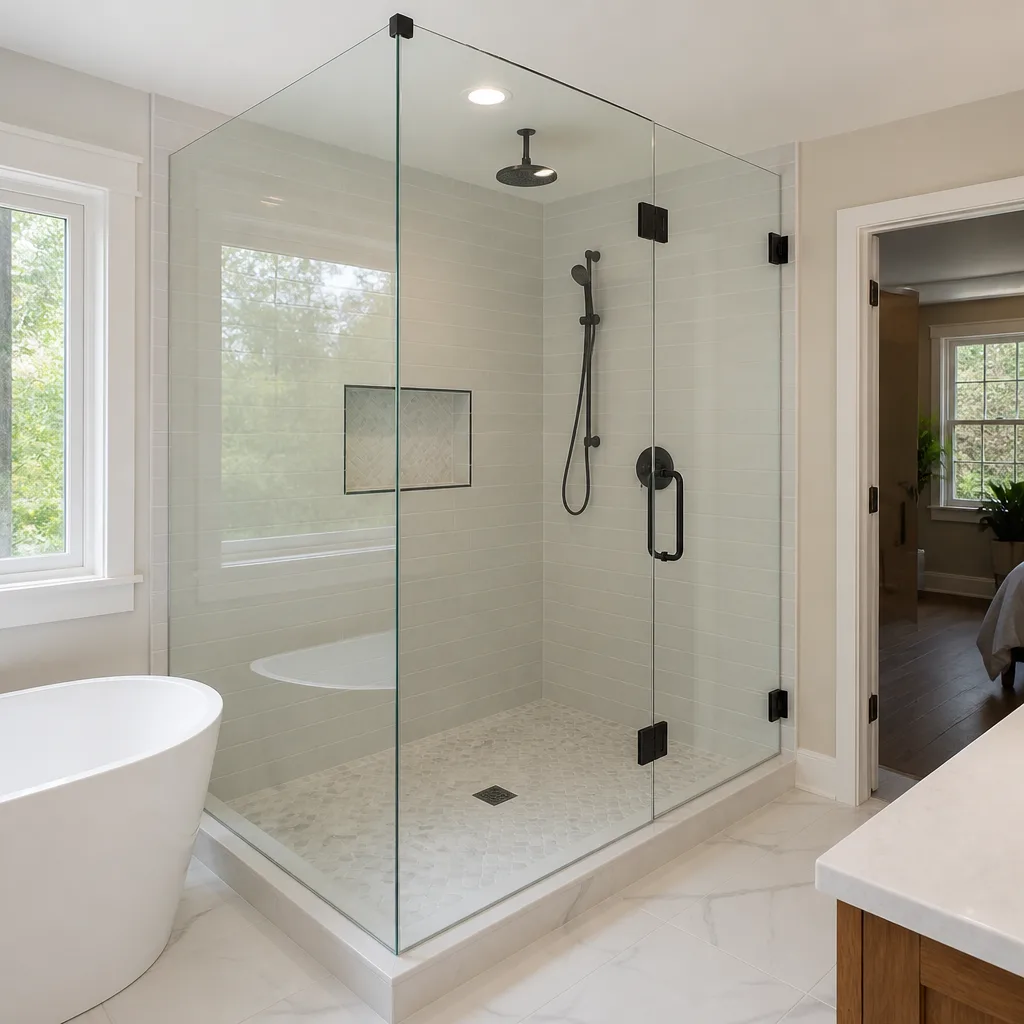 Frameless glass
Free in-home design visit - walk-in showers, tub-to-shower conversions, and Kohler, Moen, and Delta fixtures planned to your exact space
Bathroom Remodeling Emergency Preparedness Guide for Paradise Homes
Most homeowners plan a bathroom remodel around tile, fixtures, and finish dates. Almost nobody plans for the water. That’s the gap this guide closes. A failed supply line or a waterproofing mistake during active construction can undo months of progress overnight, and the difference between a small, contained fix and a major insurance claim usually comes down to whether you had a plan in place before demolition day. We’ve watched Paradise homeowners navigate both outcomes. What follows is the 30-minute preparation work that protects the other five figures of your investment – staged in the order you’ll actually need it.
Quick Answer
A bathroom remodel emergency plan in Paradise needs three things: tested shutoff valves and a documented photo record before demo, a 15-minute response sequence for water intrusion during construction, and a written timeline for temporary bathroom access. Homeowners who prepare these before work starts contain most incidents as a quick fix. Homeowners who don’t often face full remediation, flooring replacement, and a stalled project.
Styles & brands we work with
- Walk-in shower
- Tub-to-shower
- Freestanding tub
- Kohler
- Moen
- Delta
- Frameless glass
Table of Contents
- Why Paradise Bathrooms Carry Higher Emergency Risk
- The Pre-Demo Checklist: Before a Single Tile Comes Up
- Documenting Existing Conditions for Insurance and Warranty
- The First 15 Minutes of Water Intrusion During a Remodel
- Clark County Stop-Work Triggers and Permit Sequencing
- Temporary Bathroom Access Planning for Paradise Households
- Waterproofing Failures: What Schluter Standards Prevent
- Recovering a Stalled Remodel Without Starting Over
Why Paradise Bathrooms Carry Higher Emergency Risk
Paradise is built almost entirely on slab-on-grade construction. There’s no basement to catch a leak and no crawlspace to vent moisture. Water that escapes a supply line during a remodel spreads across the slab, wicks into drywall at the base of every wall it touches, and can reach adjacent rooms before anyone notices. That single construction detail reshapes almost every emergency decision you’ll make during a bathroom project in Paradise.
The climate adds a second layer. Paradise summers push indoor temperatures high enough that a bathroom window left open during demo draws in dust and heat, and monsoon-season humidity in July and August can slow the drying of freshly set tile and grout. Construction-phase moisture control matters here in a way it doesn’t in drier or cooler markets. We schedule waterproofing membrane work and curing windows with that in mind on every bathroom remodeling project we manage.
Aging plumbing is the third factor. Many Paradise homes built in the 1980s and 1990s still have original shutoff valves under sinks and toilets. Gate valves that haven’t been turned in fifteen years often seize or fail the moment a technician puts a wrench on them. Finding that out during an active workday is far worse than finding it out two weeks before demo. Test every valve early, and budget to replace any that won’t close cleanly.
Slab construction also means a leak under the slab doesn’t drain away. It stays, spreads, and finds the path of least resistance – usually the baseboard of an adjacent bedroom. That’s why the pre-demo valve check isn’t optional in Paradise. It’s the first line of defense.
The Pre-Demo Checklist: Before a Single Tile Comes Up
This is the 30-minute investment that pays for itself the first time something goes wrong. Complete every item before demolition begins, and photograph each step as you go.
- Locate the main water shutoff for the whole house. In Paradise slab homes this is usually at the meter box near the street or at an exterior wall penetration. Confirm it turns and actually stops the water. If it’s seized, get it replaced before demo day.
- Test every angle stop and gate valve feeding the bathroom. That’s the sink supply, the toilet supply, and the shower or tub valve. Turn each one fully closed, then fully open. If any valve feels stiff or drips after closing, schedule replacement before demolition.
- Photograph the meter dial. Write down the reading. If you ever suspect a hidden supply-line leak during construction, checking the meter again tells you whether water is moving when nothing should be running.
- Confirm the toilet flange and drain condition. A cracked flange discovered mid-demo means a frantic supply run and a lost day. Note it in advance.
- Document the existing exhaust fan performance. A fan that doesn’t move air properly will make every moisture event during construction worse. Note whether it’s working, and plan its replacement if it isn’t.
- Identify the electrical panel location and label the bathroom circuits. If an emergency involves cutting power to a wet area, you need to know exactly which breaker to flip without searching.
- Verify the permit is pulled and posted. Never let demo start on an unpermitted project. A stop-work order the day after demo is one of the most expensive delays a Paradise homeowner can face.
Notice that none of this requires a specialist. Every item is a homeowner task or a quick check with your contractor. Doing it together before demo starts is how you and your contractor both know where the risks live.
Documenting Existing Conditions for Insurance and Warranty
Insurance claims for remodel-phase water damage are won or lost on documentation. If your insurer can’t tell which damage pre-existed the remodel and which came from the incident, they’ll often assume the worst for you. The fix is simple: build a complete visual record before the first tile comes off.
Walk the bathroom and adjacent rooms with your phone in video mode. Narrate what you see: “This is the master bathroom in a Paradise slab home, filming on the day before demo. Here’s the existing tile, here’s the subfloor transition at the door, here’s the baseboard of the adjacent bedroom, here’s the ceiling below if applicable.” Aim for two minutes of clean, uninterrupted footage per room. Then take individual still photographs of any existing damage – water staining, cracked grout, bubbling paint, soft drywall. Each of those is now documented as pre-existing, and won’t be attributed to your project.
Add a second layer for your own records. Keep a folder with:
- The signed contract and any change orders
- The permit number and inspection card
- The dated video and photo set
- Copies of the waterproofing manufacturer’s specification (Schluter Systems publishes theirs, and your contractor should have it)
- Your homeowner insurance policy declaration page
- Every written estimate and invoice
Store that folder in the cloud, not just on your phone. If the phone goes into a bucket of thinset, you’ll still have the record. We hand this folder outline to every homeowner before demo starts on a Paradise project, because the ten-minute setup beats the six-month dispute every time.
The First 15 Minutes of Water Intrusion During a Remodel
Water intrusion during an active remodel is time-critical. Every minute matters. Follow this sequence in order, without skipping steps.
- Minute 0-2: Kill the water. Close the nearest shutoff first, then close the main house shutoff. Don’t wait to identify the source before you stop the flow. If the source is a supply line that ruptured behind a newly opened wall, the nearest isolation valve may be at the fixture itself – close it, then close the main.
- Minute 2-5: Kill the power to any wet area. If water has reached outlets, switches, or fixtures in the bathroom or adjacent rooms, turn off the affected breakers at the panel. Don’t touch anything wet near electrical – flip the breaker with dry hands or a dry tool.
- Minute 5-8: Contain the spread. Towels, buckets, and whatever is nearby. If water is running across a slab toward another room, a rolled towel at the doorway slows it enough to buy time.
- Minute 8-12: Notify the contractor. Call, don’t text. The contractor needs to hear the words “active water intrusion during demo” to understand the urgency. Ask what to do next on site while you make the insurer call.
- Minute 12-15: Contact the insurer. Open a claim file even if you’re not sure it will be claimed. The claim number time-stamps the incident and starts the clock on any covered remediation. Tell them the property address, the nature of the intrusion, and the approximate time it was discovered.
After the first fifteen minutes, the priority shifts from stopping the water to starting the drying. Fans, dehumidifiers, and opened baseboards do most of that work. Your contractor can usually advise on the drying plan before they arrive on site.
One last note: photograph everything from the 15-minute mark onward, in sequence. Those photos, timed against your pre-demo photos, are how you demonstrate to the insurer exactly what the intrusion cost.
Clark County Stop-Work Triggers and Permit Sequencing
A stop-work order is a legal pause on your project, issued by the permitting authority when something doesn’t match the approved plan or the code requirements. In Paradise it typically happens for one of five reasons. All five are avoidable when the permit is sequenced correctly.
- Work started before the permit was pulled. The most common trigger. Any demolition, plumbing rough-in, or electrical work done before permit issuance can produce a stop-work order the moment an inspector or neighbor reports it. Never let demo start on a verbal “the permit’s coming next week.”
- Work doesn’t match the approved drawings. Moving a shower drain or adding a wall after plan approval requires a revision, not a field decision. Get the revised plan approved before the work happens.
- A required inspection was skipped. Plumbing rough-in, waterproofing, and electrical rough-in each need an inspection sign-off before they’re covered by tile or drywall. Covering uninspected work guarantees a stop-work order the next time an inspector visits.
- Structural work without engineering. Removing a wall that turns out to be load-bearing, or modifying a floor structure for a heavier shower system, requires stamped engineering. Ask before demo, not after.
- Waterproofing that fails inspection. A waterproofing system installed without a manufacturer-approved method fails when the inspector checks. This is why specifying a system like Schluter from the start matters more than adding it mid-project.
What to do if you receive a stop-work order: don’t argue with the inspector, don’t ask the crew to keep working, and don’t try to negotiate the deadline. Comply immediately, have your contractor request a corrective inspection as soon as the deficiency is corrected, and keep the correspondence for your records. Most stop-work orders in Paradise resolve in days when the correction is fast and clean, and much longer when it isn’t. The correct sequence – permit first, then demolition, then rough-in inspection, then waterproofing inspection, then tile, then final inspection – is the entire defense against this.
Temporary Bathroom Access Planning for Paradise Households
Losing your only bathroom for a remodel is a bigger adjustment than most homeowners expect. The first week feels like camping. The fourth week feels like a crisis, especially if a schedule slip becomes a stop-work order or a supply delay. Plan access before demo, not after.
Benchmarks to work from, based on typical Paradise project sizes:
- Vanity replacement or single-fixture swap: One or two days without the room. Manage with a half-bath, a guest bathroom, or a family member’s house. Hotel budget: zero.
- Tub-to-shower conversion or shower replacement: Two to three weeks of active work, with the toilet often usable most of that time. If you have a second bathroom, manage in-home. If you don’t, budget for a week of hotel overlap and see how it goes.
- Full bathroom remodel with layout changes: Four to six weeks, longer if plumbing is being relocated. If it’s your only bathroom, plan a hotel or short-term rental for the entire plumbing-and-waterproofing phase, and see if the tile-setting tail end can be lived with.
- Layout change plus permit revision: Add one to three weeks to any estimate. This is the single most common timeline overrun, and it’s the reason to have a reserve on the budget.
Two practical moves that make a Paradise half-bath work as a temporary primary: add a temporary shower riser to the tub if there’s a tub elsewhere in the house, and move your daily toiletries into a caddy so they travel room to room instead of getting lost. Also test the half-bath’s fan if it hasn’t been used in years. It may need cleaning to be functional for daily use.
If the project scope is a walk in shower conversion, ask your contractor for the exact days when the drain and waterproofing will be open. Those are the days when the room is genuinely unusable, and knowing them in advance makes the hotel or family-couch plan easy to schedule.
Waterproofing Failures: What Schluter Standards Prevent
The biggest bathroom emergency we see isn’t the one that happens during the remodel. It’s the one that happens eighteen months after everyone has moved back in. A shower that leaks slowly into the wall cavity behind tile will fail without warning – the tile looks perfect while the framing behind it is decaying. When it finally becomes visible, the repair usually involves removing the entire shower.
Proper waterproofing is the fix, and it’s not a matter of painting on an extra coat. It’s a system. At its core are three things:
- A continuous waterproof membrane that runs up walls behind tile, across the pan, and over the curb, with no seams left exposed to water.
- Bonded waterproofing at every transition – wall to floor, curb to shower base, and around the drain flange. These are the failure points in a system that’s installed piecemeal.
- Movement accommodation at changes of plane and substrate, so normal house movement doesn’t tear the membrane.
Schluter Systems builds an entire system around those principles, from bonded sheet membranes to tile-edge profiles to shower-specific drain assemblies. That’s why we install to Schluter standards on bathroom projects in Paradise. When the plumbing moves and the waterproofing follows the plumbing, and both get inspected, the finished shower works the way it’s supposed to.
Faucets and shower valves are only as reliable as what leaks around them, so we pair waterproofing depth with fixtures from brands that hold up: Kohler, Moen, Delta, American Standard, Toto, Grohe, and Sterling. The point of building from the hidden work upward is that the finished bathroom is closer to what a plumber would build than to what a decorator would. The decorative layers are the last five percent, not the first.
For homeowners, the pre-demo checklist item here is simple: confirm, in writing, that the waterproofing system your contractor uses has a published manufacturer specification, and ask for a copy. Then verify that the inspection happens before tile. Both steps prevent the most expensive bathroom problem there is.
Recovering a Stalled Remodel Without Starting Over
A remodel stalls for a handful of predictable reasons: a stop-work order, a failed inspection, a supply delay on a specific fixture, a scope change that wasn’t priced, or a specialty contractor who leaves before the next phase begins. In every case, the recovery path depends on which phase you’re in when the pause happens.
If you stalled before rough-in is complete, you’re in the easiest recovery zone. The work is exposed, no waterproofing or tile has been set, and the remaining schedule can typically be rebuilt around the fixed constraint. Either the permit issue gets resolved and work resumes, or the specialty contractor’s scope gets re-scoped and a new one is brought in.
If you stalled after tile, you’re in the harder zone. Removing tile to access the plumbing behind it or the waterproofing under it means replacement of the tile surface and the tile itself. That’s a real cost. The correct response is not to rush through a shortcut – it’s to have a licensed contractor document exactly what remains, then price the remaining work line by line. Written line-item quotes are how you understand what a recovery actually costs. If the original scope wasn’t written that way, the recovery is exactly the moment to change that.
The single thing to avoid is an aggressive next contractor who promises to “work around” a failed inspection or skip the waterproofing inspection to save time. Those shortcuts are how homeowners end up back at the stop-work order stage six months later, with a much bigger bill. The way through a stalled remodel is the way a clean project runs from the start: permits first, inspections where they belong, waterproofing to a manufacturer spec, and no tile over uninspected work. Before you hand the project to the next contractor, ask for a written plan and the permit path. Both in writing.
Common Mistakes to Avoid
- Not testing the shutoff valves before demo. A seized valve under a Paradise sink is the single most predictable failure we see in older homes. Test every valve two weeks before demo, and replace the ones that stick.
- Assuming the main house shutoff works. In some Paradise slab homes the meter-box shutoff hasn’t been turned for years and will fail the first time it’s needed. Verify it closes fully during your pre-demo check.
- Skipping the pre-demo video and photo record. Homeowners who skip this often get claims denied or reduced because they can’t prove which damage pre-existed. Two minutes of footage avoids that entirely.
- Letting a “quick” extra task start before the permit covers it. Moving a drain or adding an outlet after the plan was approved feels small at the time and becomes a stop-work order fast. Get revisions approved before the work happens.
- Budgeting zero for temporary access. If this is the only bathroom, budget for the hotel from day one. Schedule the actual days the room is unusable with the contractor and book the hotel before demo, not after.
- Treating waterproofing as a coat of paint. A membrane system with transitions, movement accommodation, and a published manufacturer specification is what stops the eighteen-month leak. Anything less ends in the shower coming out.
- Choosing fixtures without considering the rough-in. A toilet valve that doesn’t match the existing rough-in, or a shower valve that can’t be serviced later, turns a finished bathroom into a correction project. Match the fixture to the plumbing you actually have.
See the difference
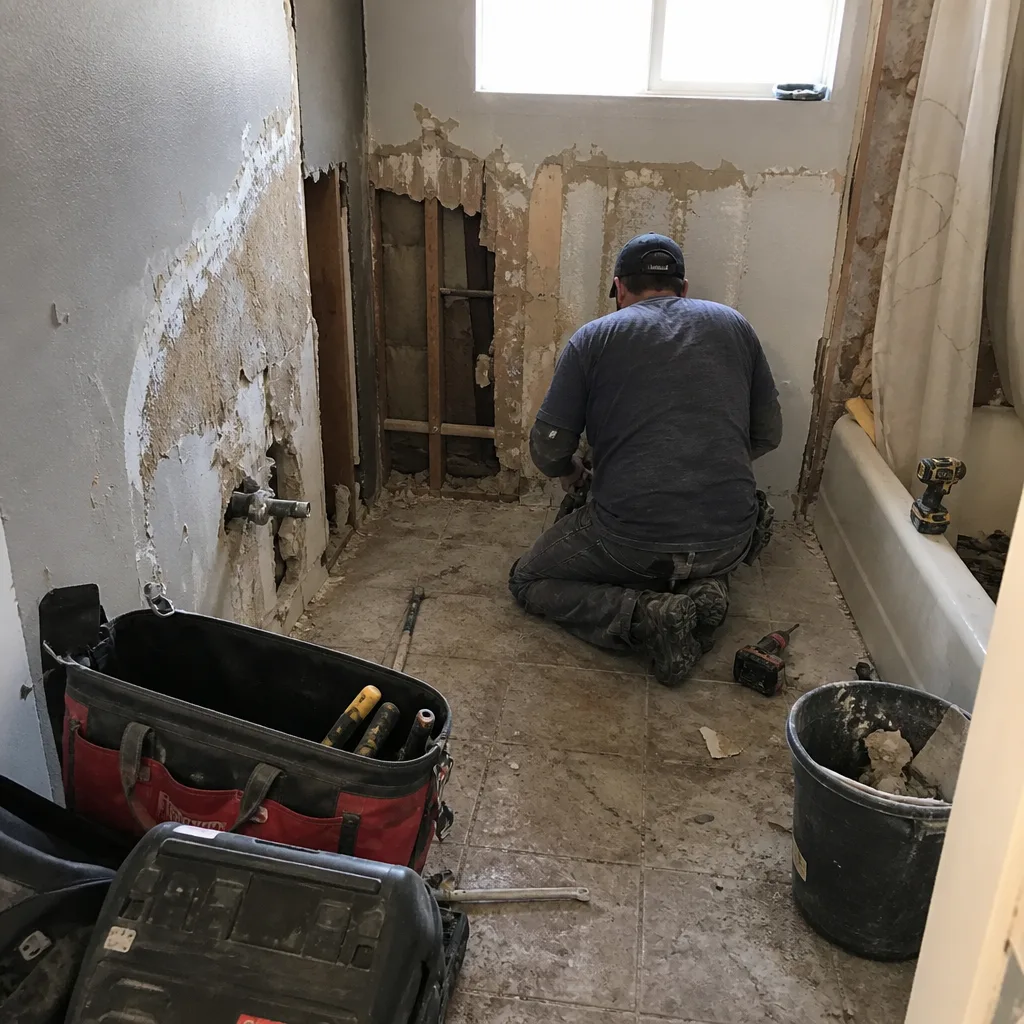 Before
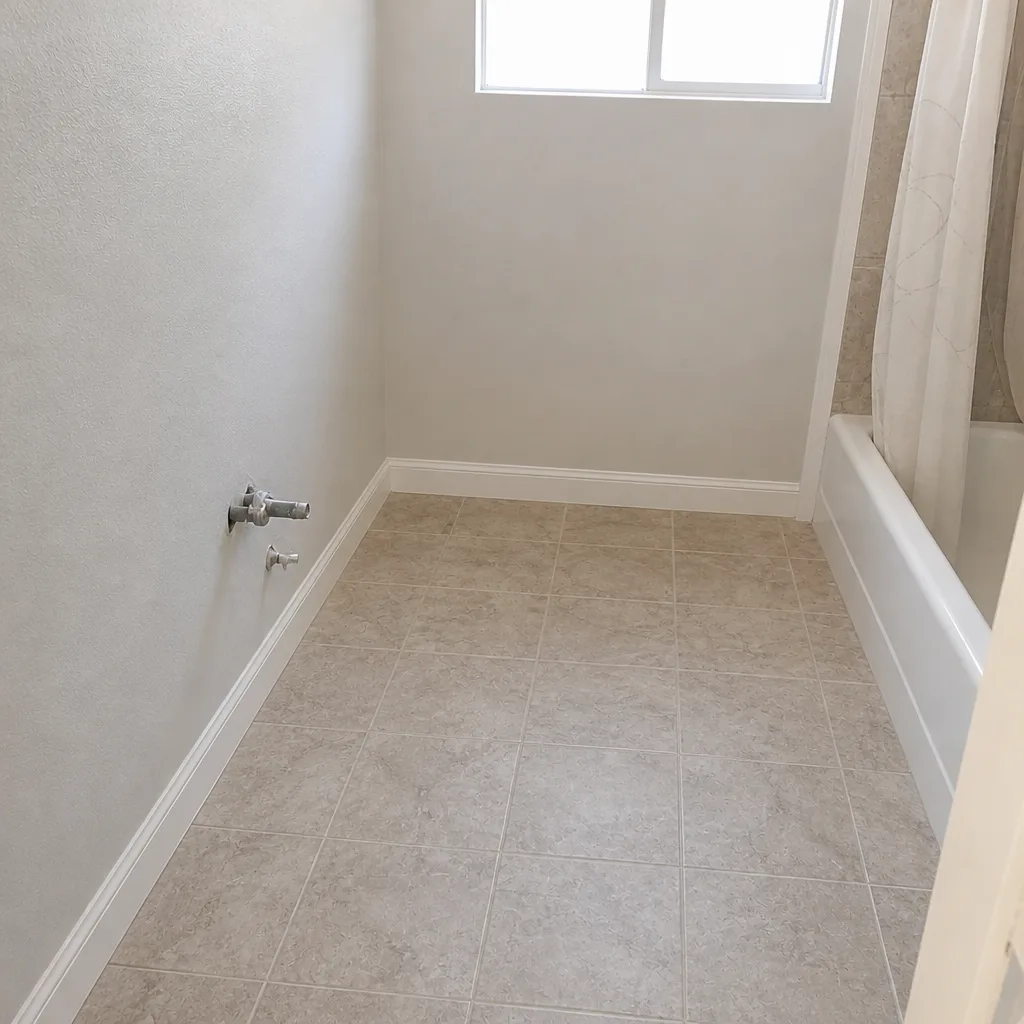 After
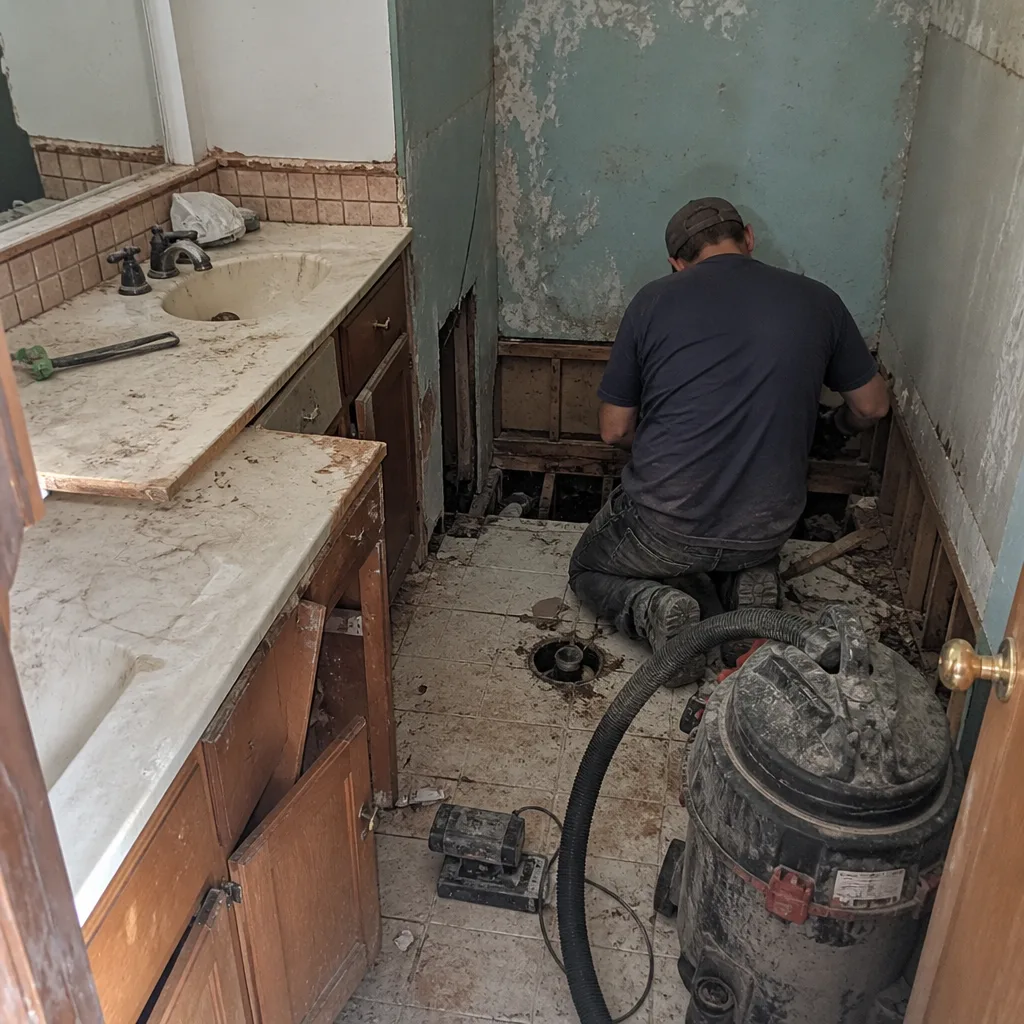 Before
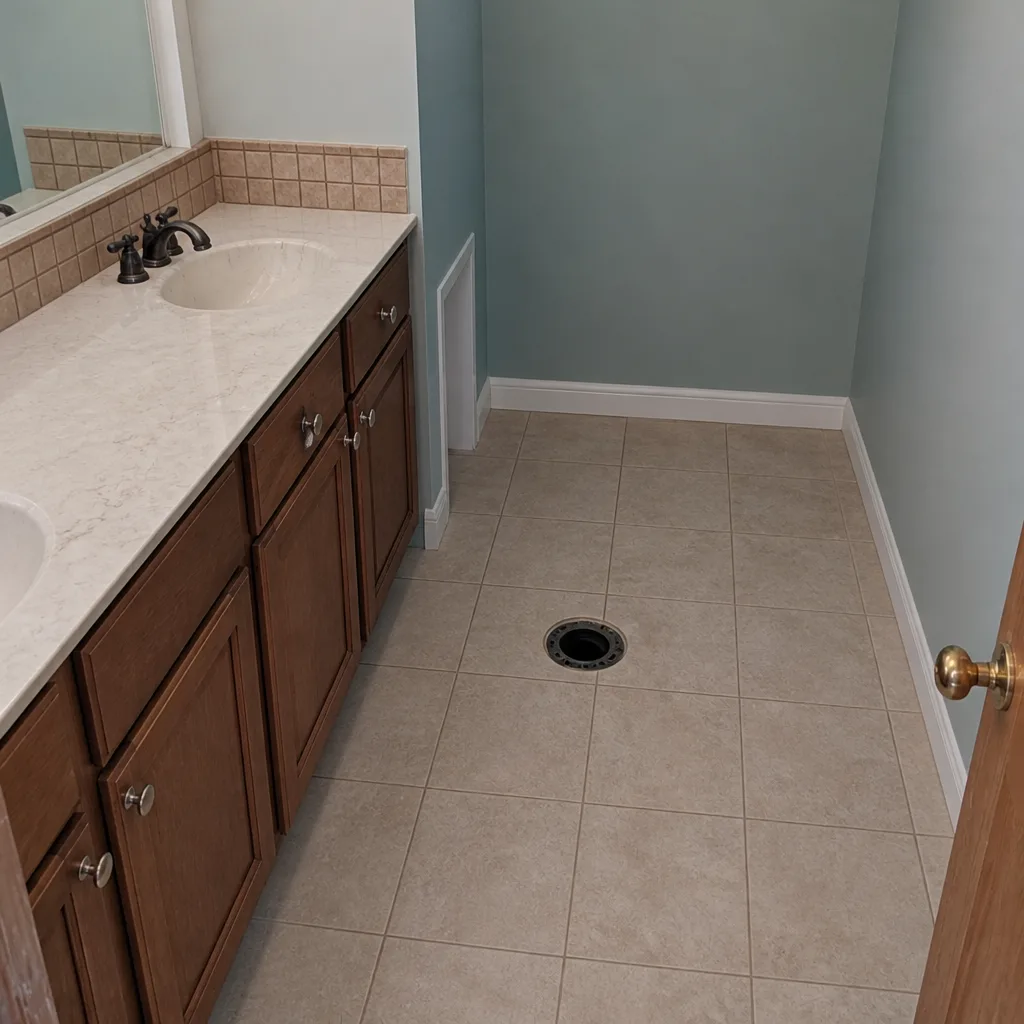 After
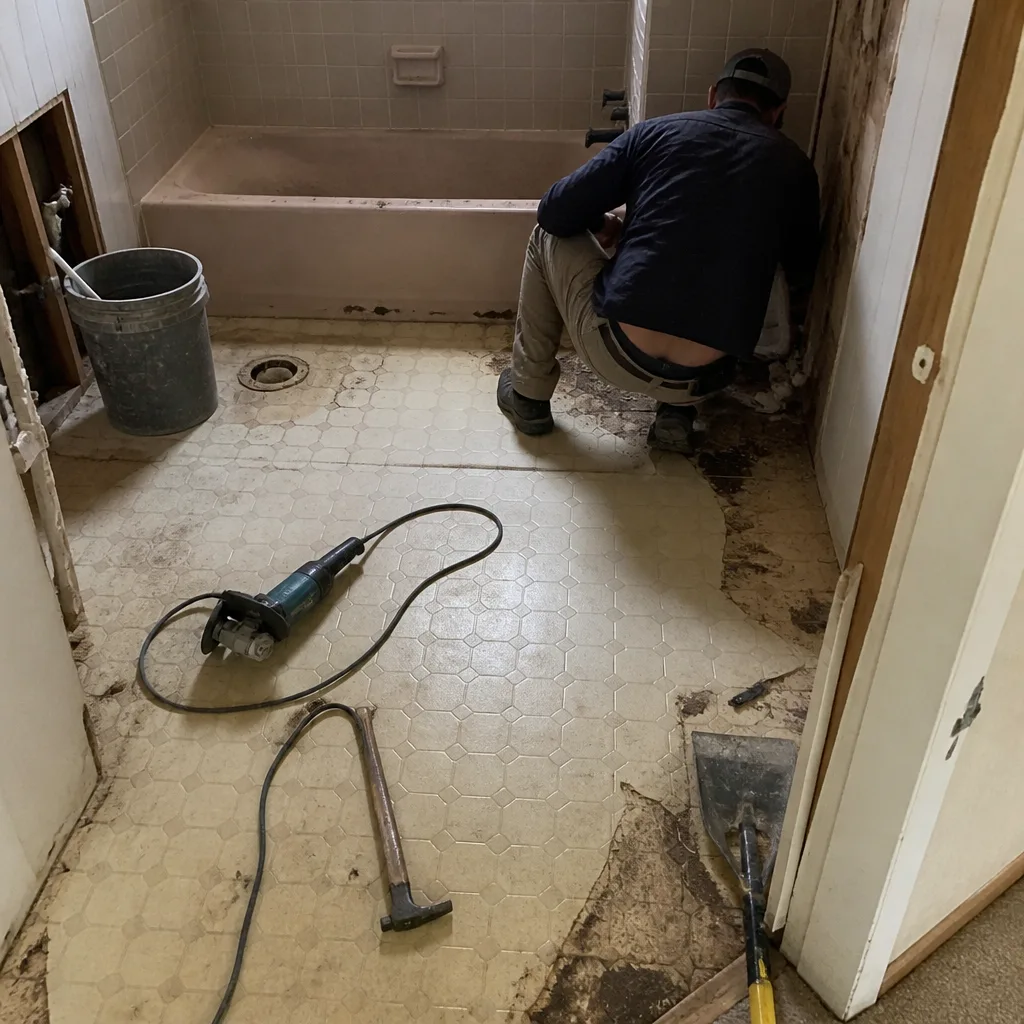 Before
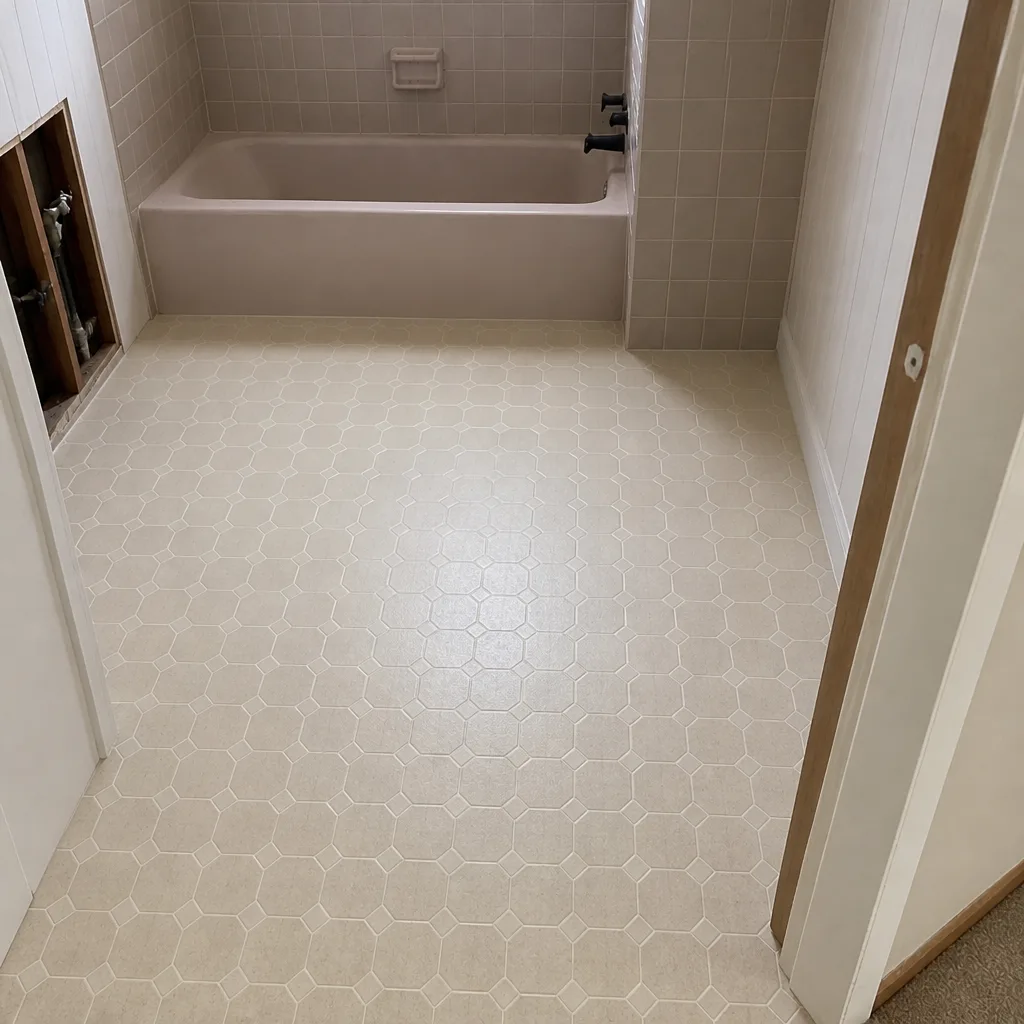 After
When to Call a Professional
Any bathroom remodel in Paradise that involves plumbing relocation, waterproofing, or a permit is a job for a licensed contractor. That’s the honest line. Moving a supply line, installing a shower pan, and testing a waterproofing system aren’t homeowner tasks, no matter what a video makes them look like. If water has already escaped during a project, contact your contractor immediately, then call us to talk through the next step. If a stop-work order has been issued, don’t let anyone touch the site until the correction is understood. And if you’re starting from scratch, do the pre-demo checklist and the documentation before you sign anything.
Bathroom Remodeling Paradise offers free estimates in Paradise – call (888) 349-5908. Our technicians have up to 15 years of experience in bathroom-specific work, and we work on bathrooms only, so the crew you meet on demo day is the crew that finishes the tile. Every project is priced per job by a written line-item estimate.
Frequently Asked Questions
Containing a water intrusion during a remodel typically runs in the low hundreds to low thousands, depending on how quickly the water was stopped and how much of the material needs replacing. Full remediation after a delayed response can be a five-figure job. The price is set per job by the written estimate, and the estimate is free. Call (888) 349-5908 for an exact quote.
Responsibility depends on the cause. A failed supply line that was tested and documented as sound before demo is usually an incident. A failed valve that was never tested, on the other hand, can end up in the contractor’s scope. The pre-demo photos and the meter reading you recorded are the evidence that clarifies the question either way. Review your policy with your insurer and ask your contractor for their written procedure for water intrusion before demo starts.
The most common triggers are work started before the permit was issued, work that doesn’t match the approved drawings, and a skipped required inspection. A stop-work order is a legal pause on the project – the correct response is to stop immediately, correct the deficiency, and schedule the corrective inspection. The single best defense is proper permit sequencing: permit first, demo second, inspections before anything gets covered.
A vanity or single-fixture replacement usually means one or two days. A tub-to-shower conversion or shower replacement typically runs two to three weeks of active work. A full layout change runs four to six weeks, and more if a permit revision is required. If it’s your only bathroom and the project is a full remodel, plan a hotel for the plumbing-and-waterproofing phase. Call (888) 349-5908 to talk through the scope and the temporary access plan together.
Video each room the project touches, and photograph individual pre-existing damage: water staining, cracked grout, soft drywall, or bubbled paint. Also photograph the main shutoff and the angle stops, and take a snapshot of the water meter dial. Two minutes of video before demo is the cheapest insurance a Paradise homeowner can buy for a bathroom project. Estimates for a remodel are free – call (888) 349-5908.
Yes. Most homeowner policies treat a sudden supply line break differently from long-term water infiltration behind tile, which is often excluded or heavily limited. That difference is why the waterproofing method matters at the start – a Schluter-spec system with documented transitions and installation is less likely to produce the slow leak that becomes a coverage dispute. Ask your insurer about the distinction before demo, and ask your contractor for the waterproofing spec in writing.
The Bottom Line
Bathroom remodel emergencies in Paradise aren’t hypothetical, but they’re almost entirely preventable. The 30-minute preparation – testing valves, photographing conditions, confirming the permit path, and planning temporary access – sits at the top of the value chain. Everything else in a Bathroom Remodeling Paradise project builds from that base. If you’re remodeling in Paradise, do these five steps before demo, and keep your plumber’s and insurer’s numbers where you can reach them fast. Your bathroom is worth the preparation. We handle the project itself with bathroom-only expertise, one trade from start to finish.
Ready to talk through your project and the pre-demo plan together? Call (888) 349-5908 for a free estimate. We answer 24/7. Fast dispatch from 7am to 7pm, Sunday through Friday. Written line-item quotes, permits pulled, bathroom-only focus on every project, and a team that knows what to do when the unexpected shows up on demo day.
Written by the team at Bathroom Remodeling Paradise.